Account and onboarding
Before you start, you need an account and a workspace. Both take a few minutes to set up.
Sign up
Open the Betterplan sign-in page and choose Sign up there. (Technically the page lives at /auth/sign-up.)
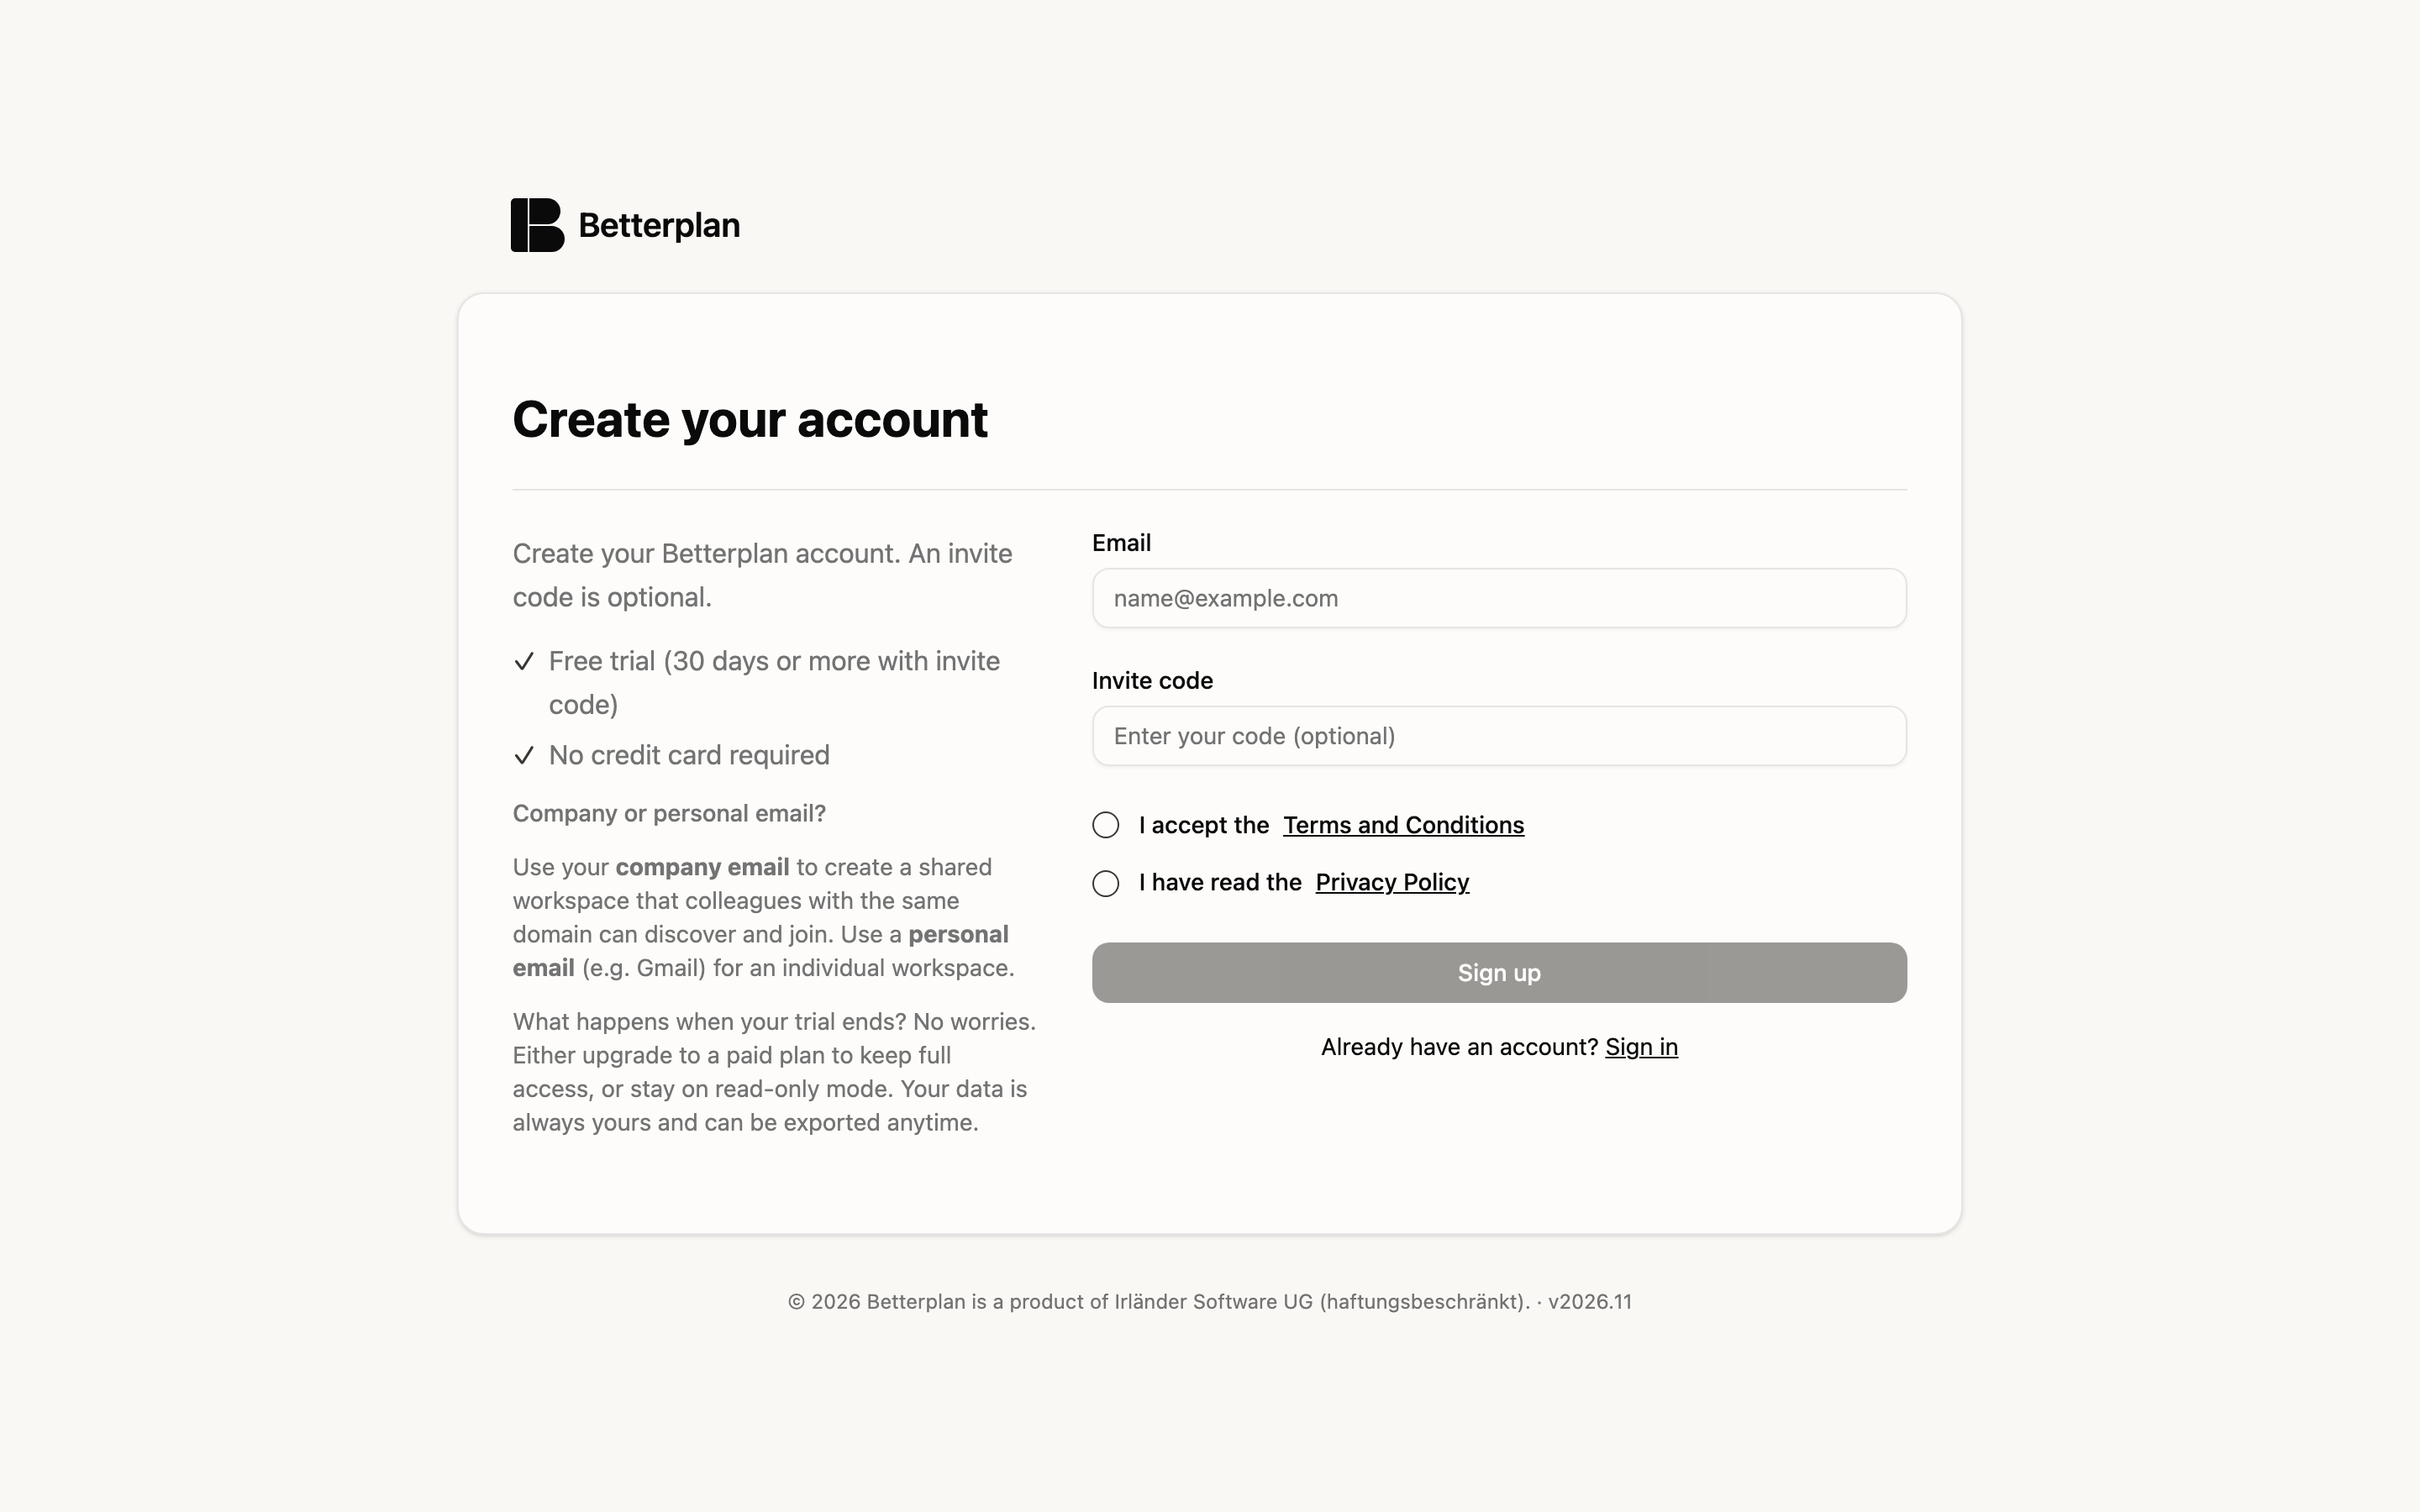
- Enter your Email.
- If you have one, enter your Invite code. It is optional. With a code, the free trial gets longer.
- Accept the Terms and Conditions and confirm that you have read the Privacy Policy.
- Click Sign up.
You receive a link by email, valid for 60 minutes. One click on it activates your account.
With a company email you create a shared workspace that colleagues with the same domain can discover and join. A personal email (for example Gmail) gives you an individual workspace.
The trial is free and needs no credit card. When it ends, you can either upgrade to a paid plan or stay in read-only mode. Your data is always yours and can be exported at any time.
Sign in
If you already have an account, choose Sign in on the sign-up page. By default, Betterplan sends you a one-time link: enter your email and click Send link to sign in. You don't need a password for that. Depending on how your account is set up, you can also sign in with a password (Forgot your password? resets it).
Onboarding
After your first sign-in, onboarding guides you through setup in six steps.
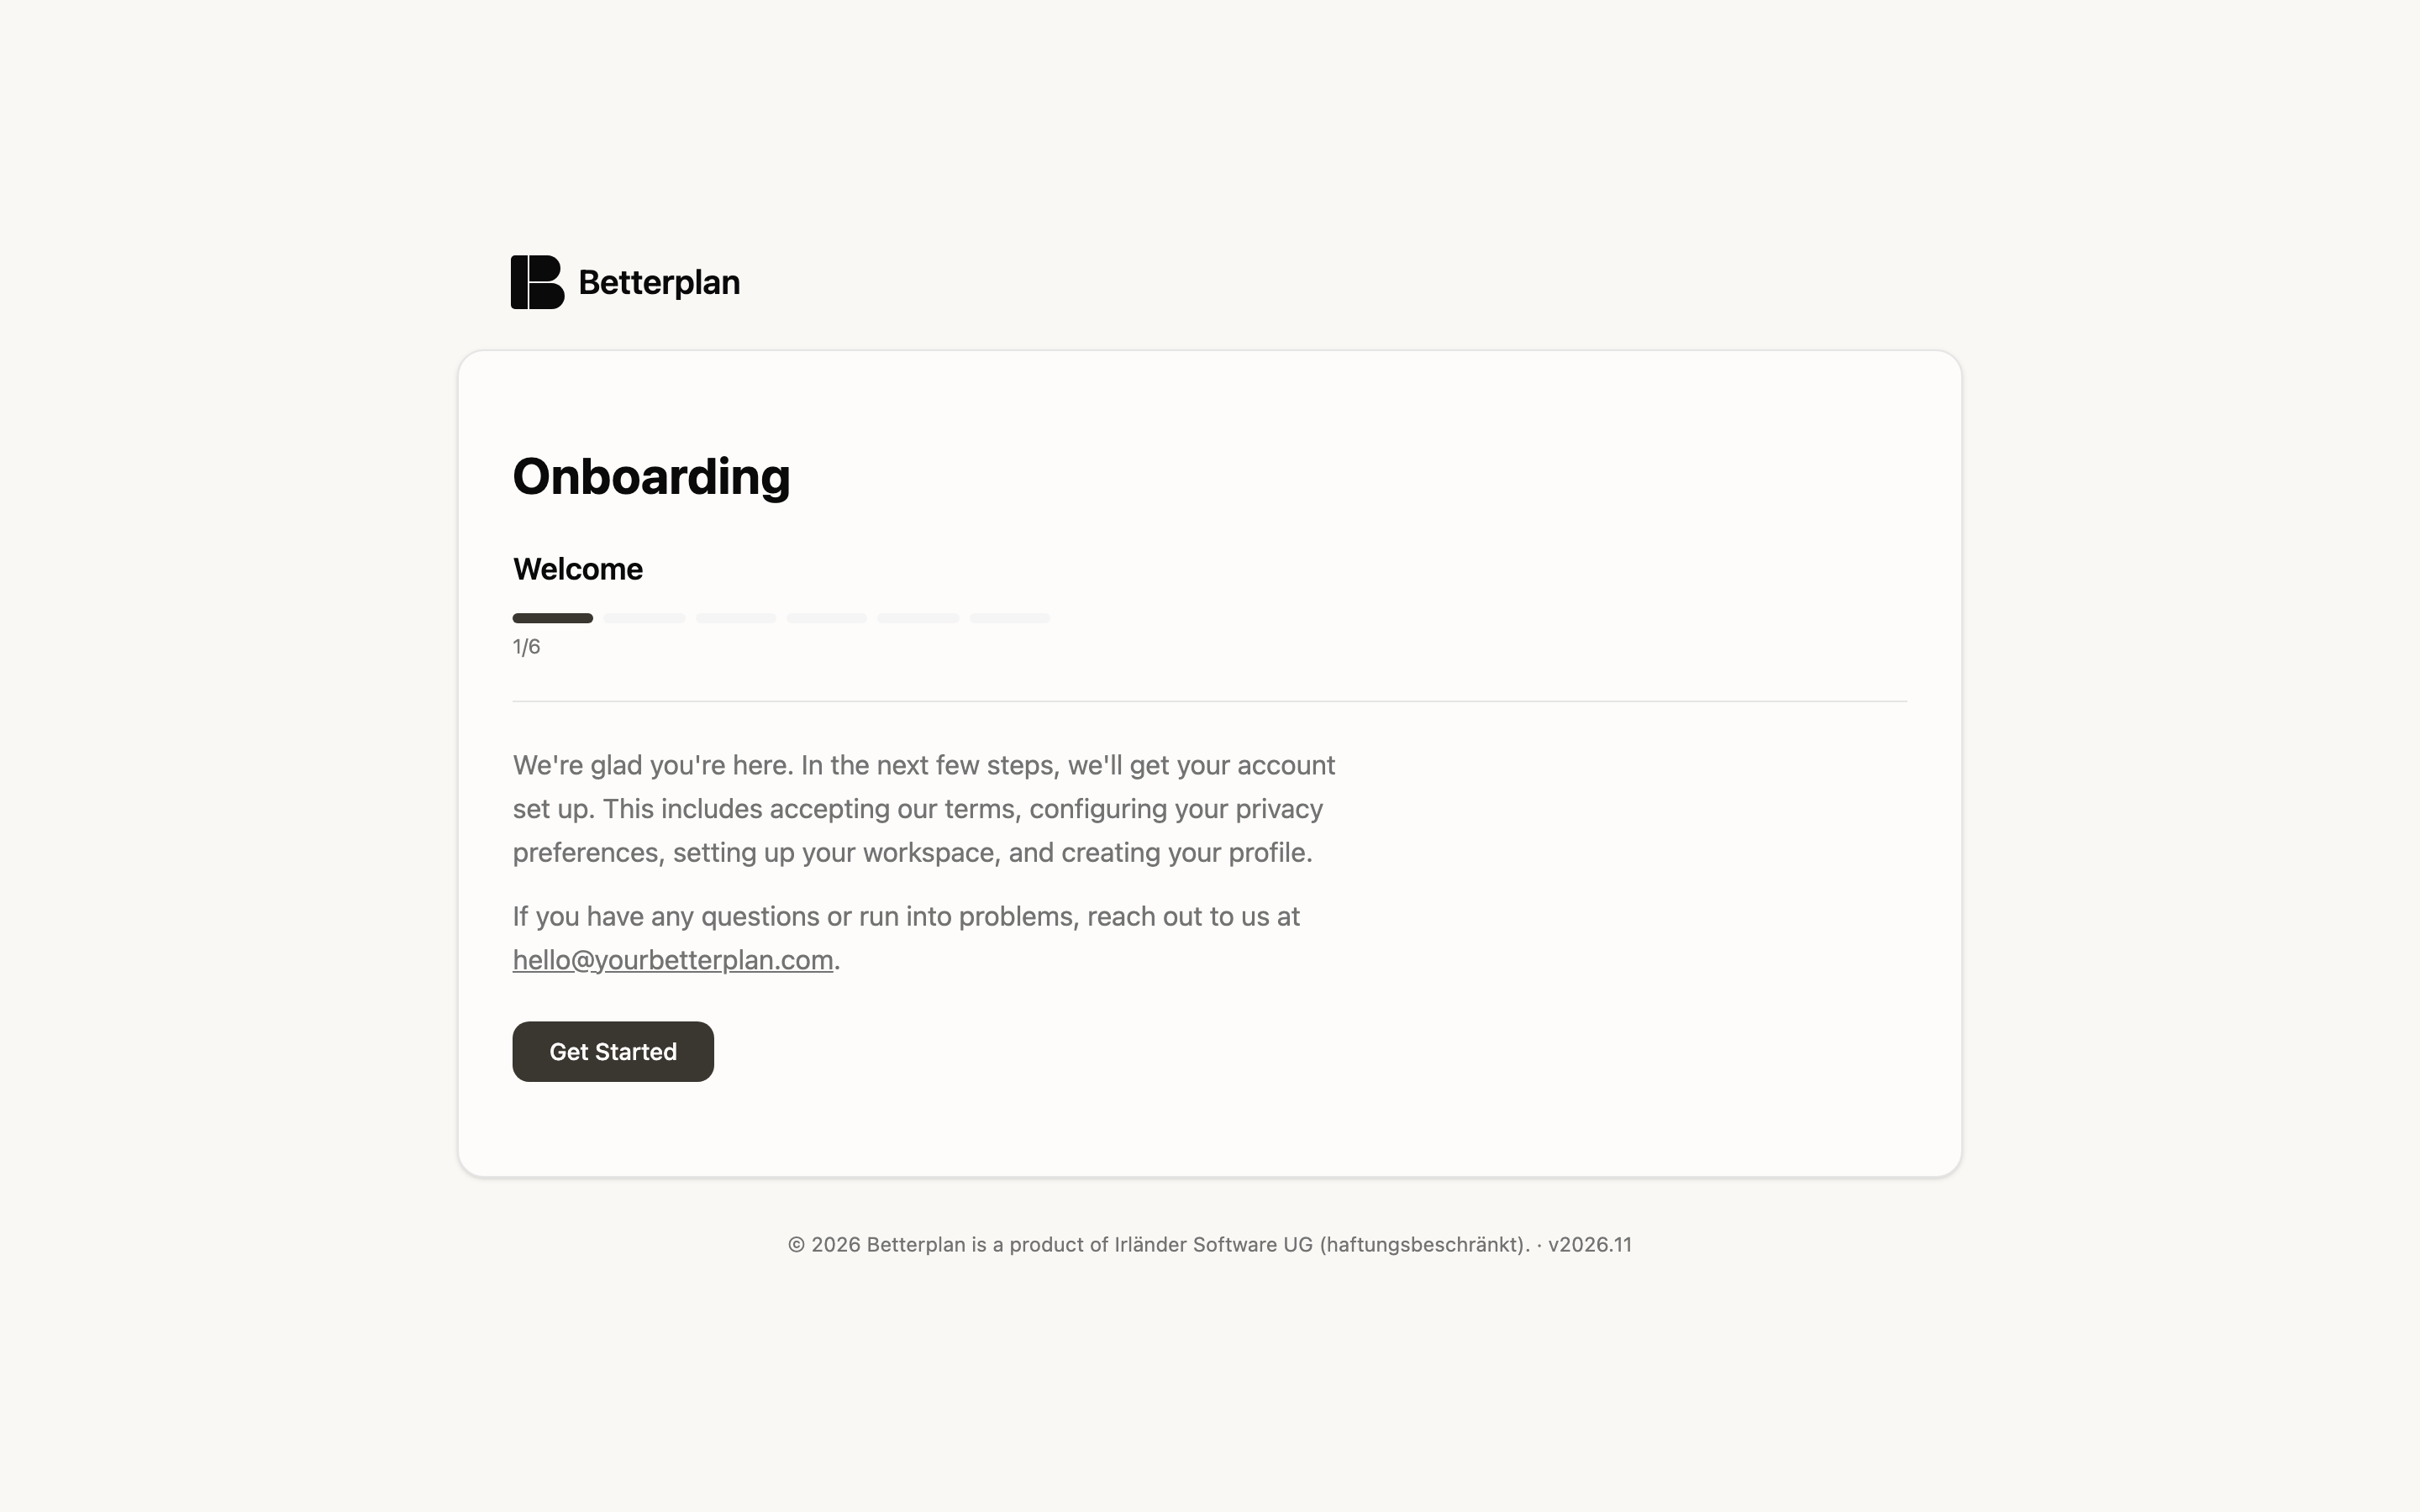
- Welcome: Click Get Started.
- Privacy Settings: Choose which tracking features are fine for you: Decline All, Accept Selected or Accept All. You can change this later at any time in the profile menu.
- Marketing Emails: Decide, voluntarily, whether you want to receive product updates.
- Your Workspace: Betterplan checks your email domain to see whether your company already uses Betterplan.
- If an organization exists, you can join it with Join Organization.
- Otherwise, create a new workspace with Create Workspace, either as a Personal Workspace or as a Company Organization. Give it a Workspace Name.
- About You: Optionally enter your name and job title. Your team sees them, and you can change them later in the profile settings.
- You're all set! With Continue to your workspace you land in the project list.
Creating the workspace starts a free trial with up to 5 seats. If you join an existing organization, you use a seat in its subscription. If no seats are available, you have read-only access until an admin adds more seats.